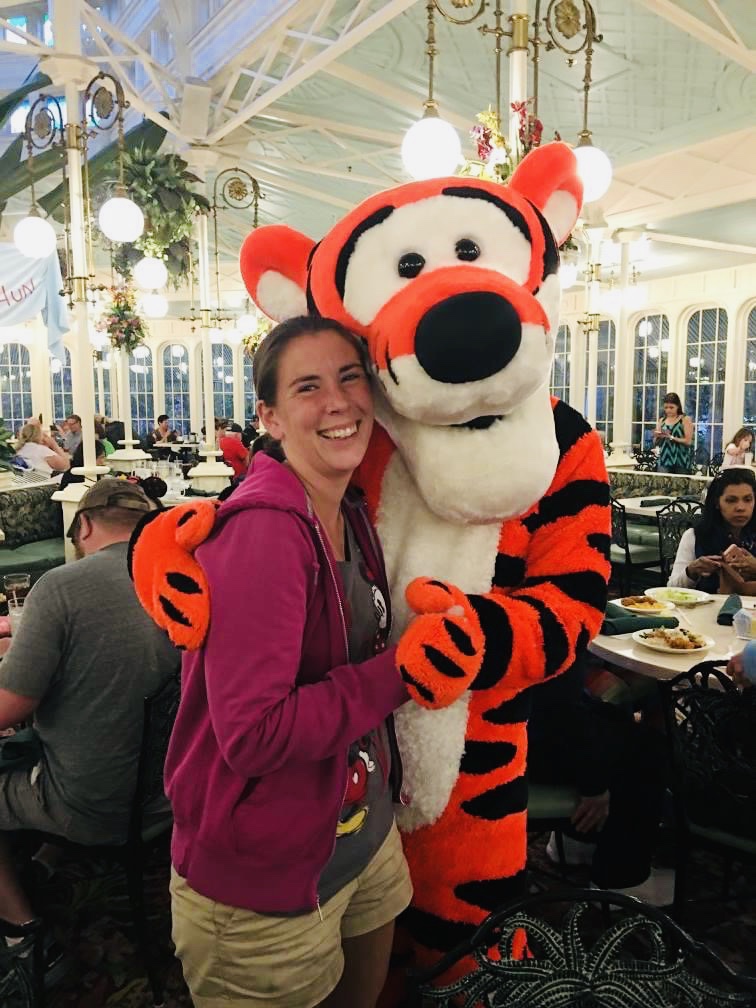
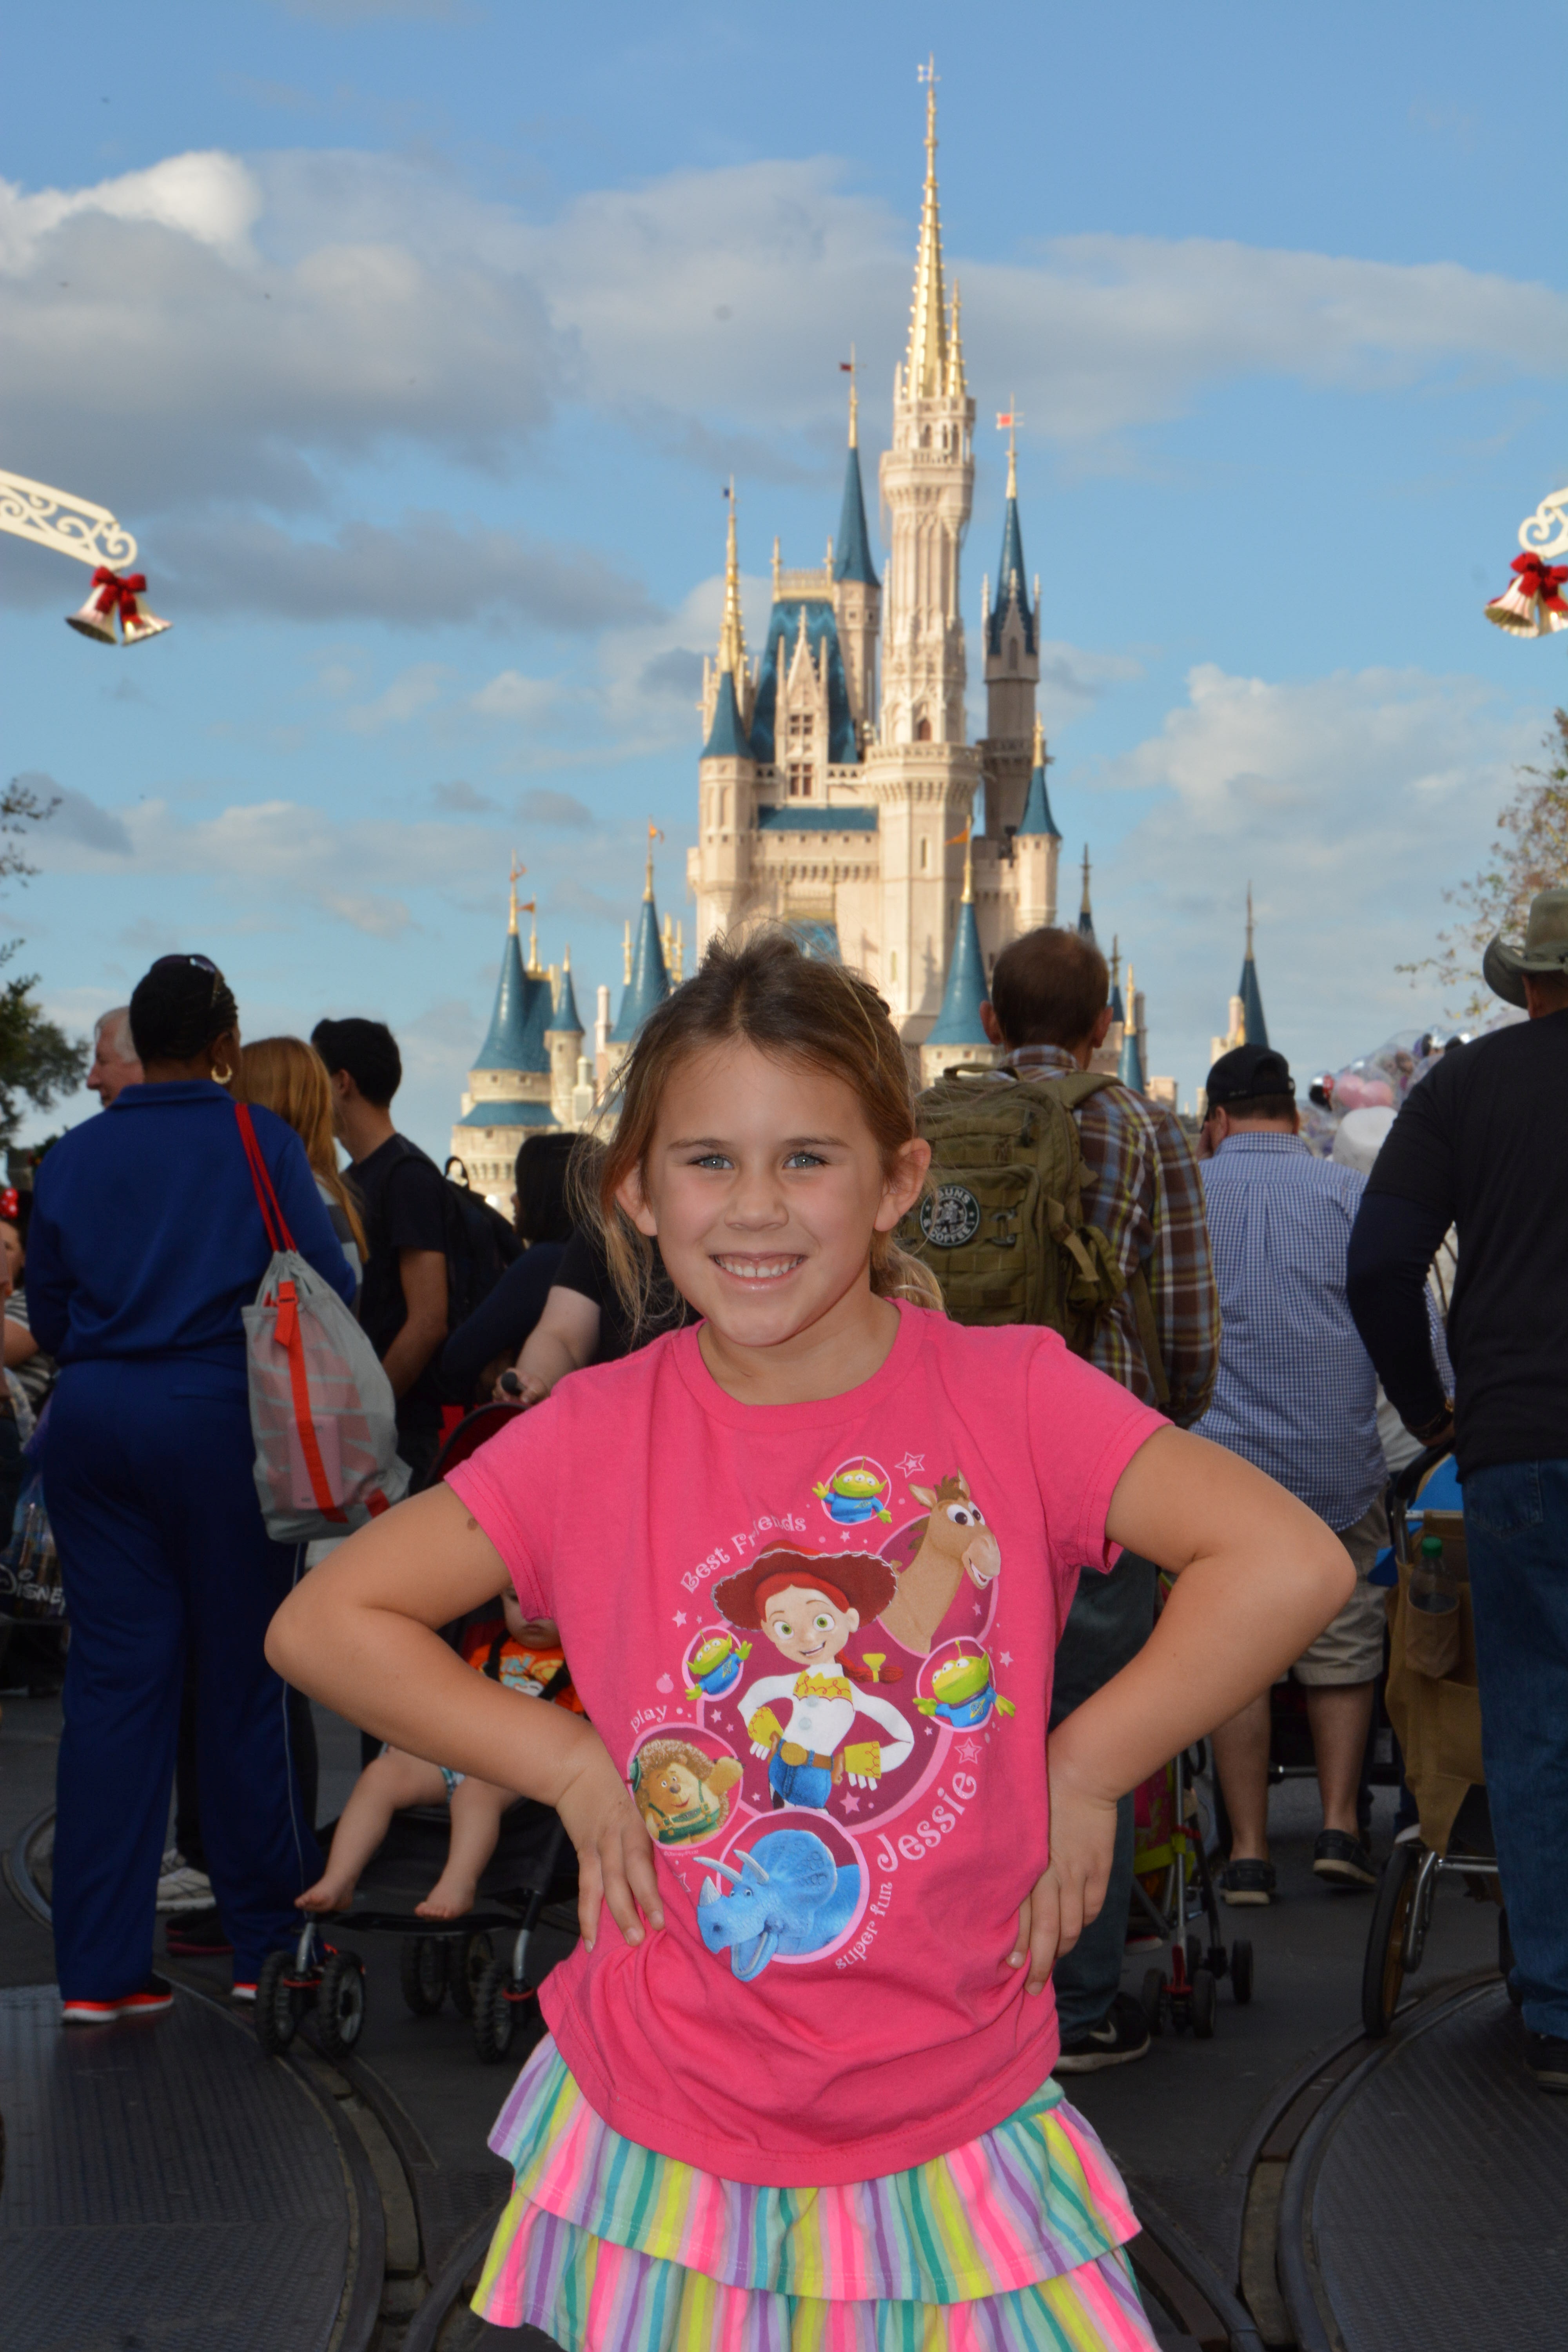
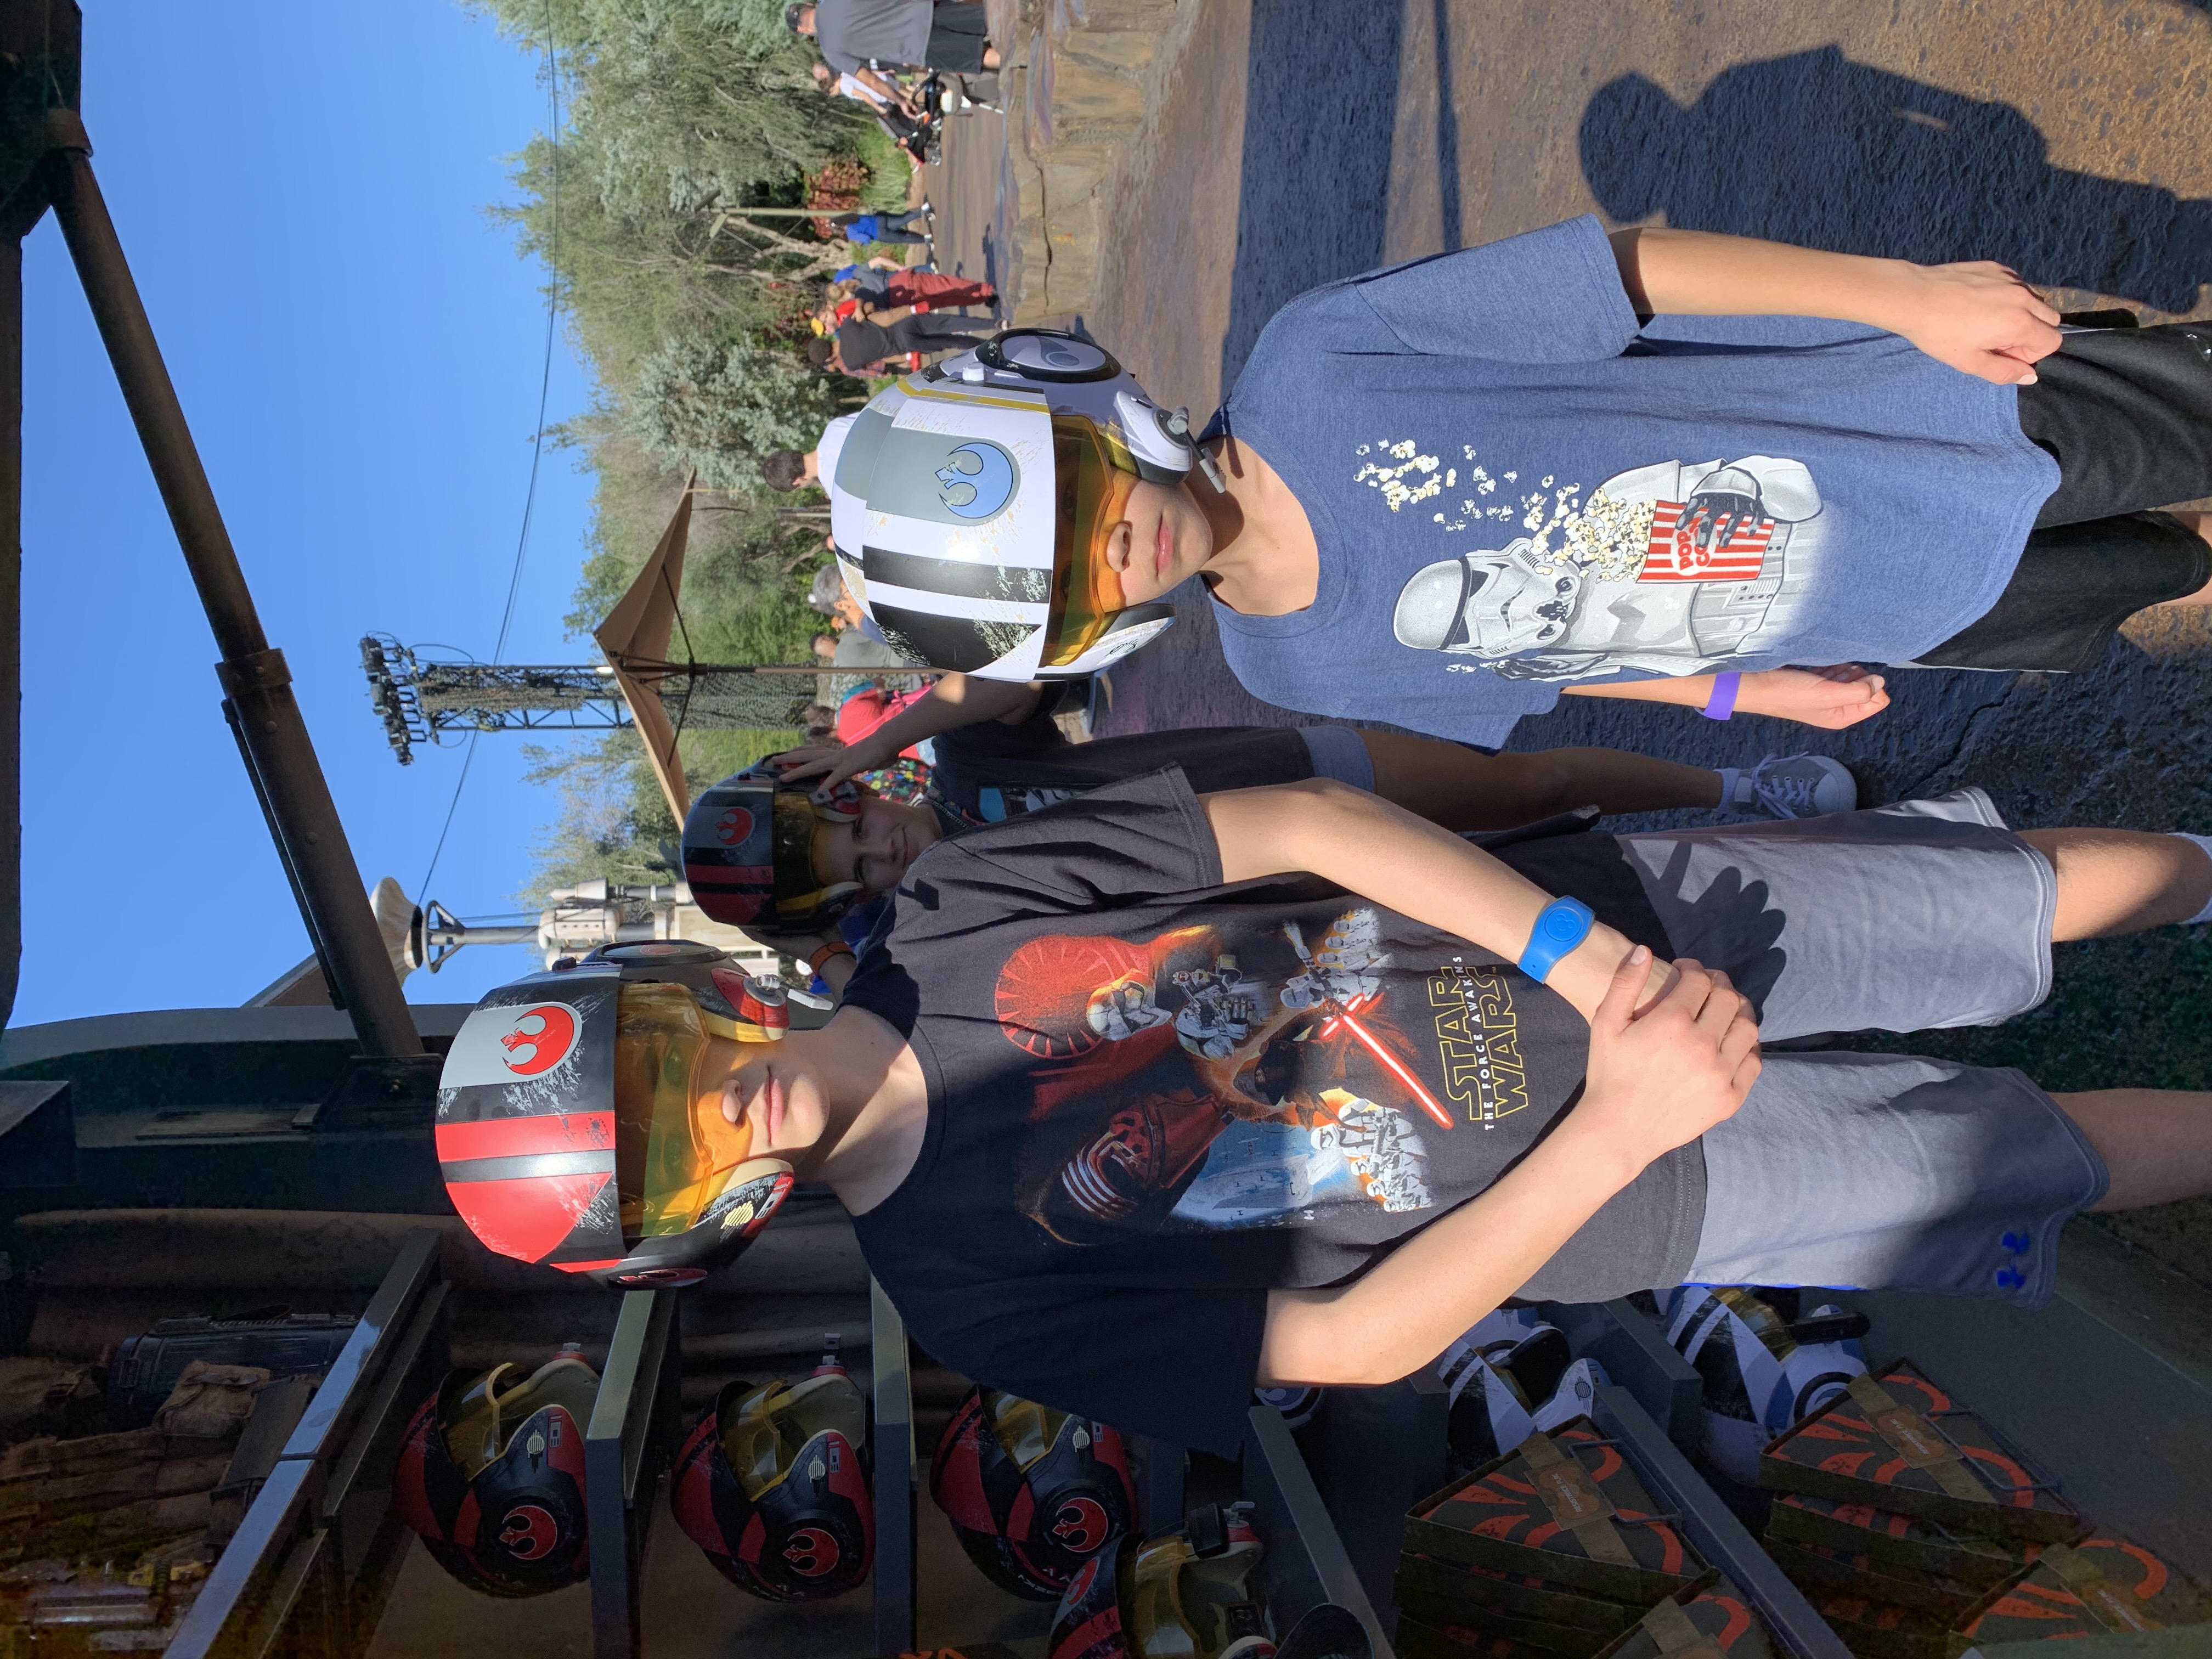
In true “Always Disney Dreaming” fashion, I am always thinking ahead to our next Disney vacation – and a big part of my family’s trip planning is to make sure we pack plenty of shirts that show off our Disney spirit. It may be cliché, but we love a good Disney themed t-shirt every time we are in the theme parks. Though my days of convincing the kids to wear matching family shirts have probably come and gone, they are still always game to represent their favorite Disney characters. When they were toddlers, Disney Junior character shirts were all the rage. For many years I could never buy enough princess shirts for my daughter, and my boys loved wearing anything I found with Toy Story and Cars characters. And there has definitely never been a trip without shirts featuring the Fab Five, along with Star Wars apparel thrown in for good measure.


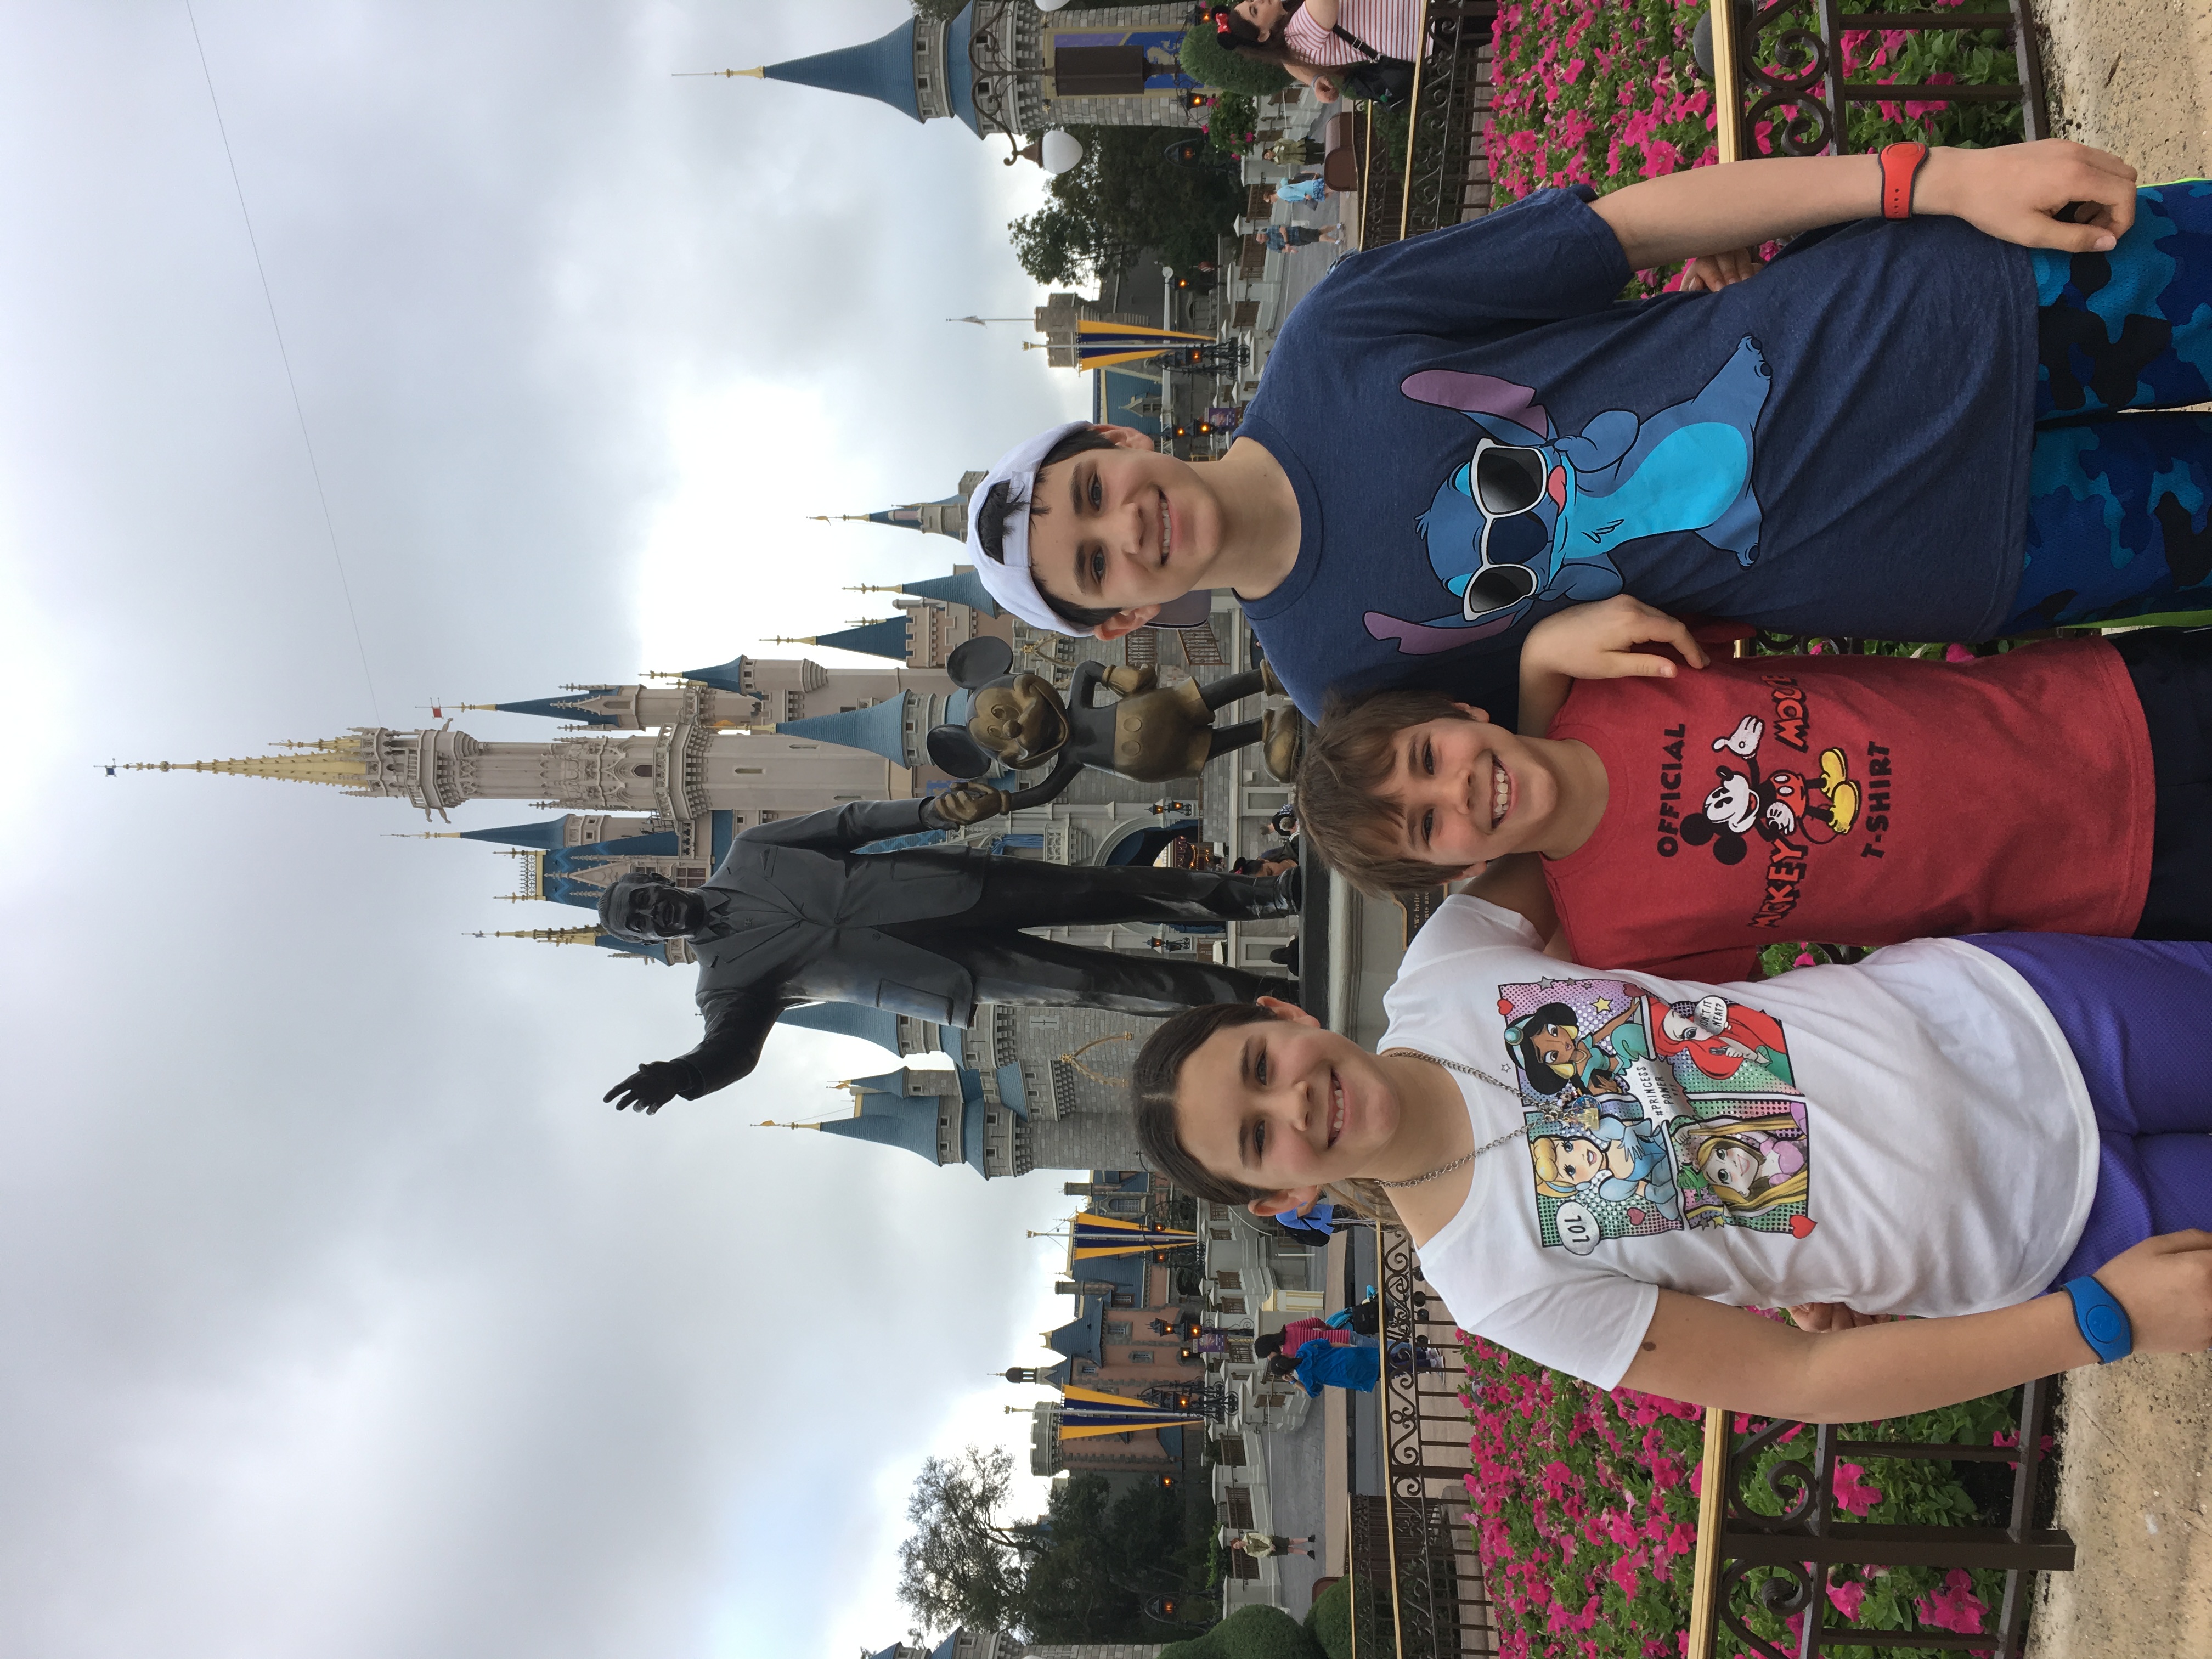

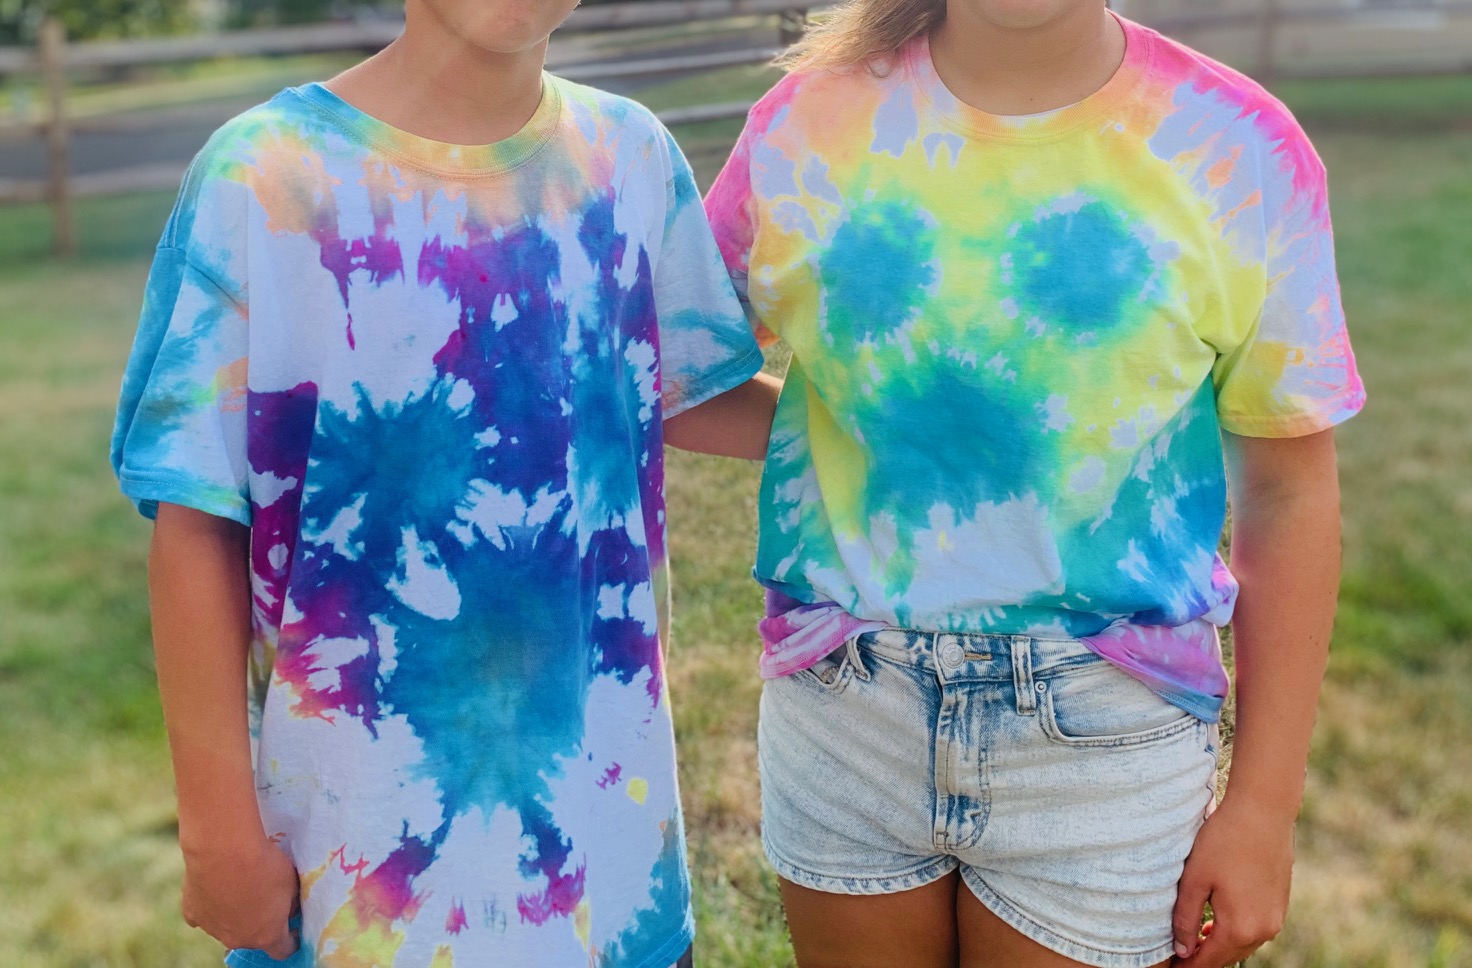
I recently came across a Disney Parks Blog post that shared a tutorial for making a Mickey Mouse tie-dye shirt, and I immediately thought how much fun my kids would have with this kind of craft – not to mention, these new shirts could be another addition to our arsenal of vacation shirts. Though the project got a bit messy at times (my youngest son maybe had a little too much fun experimenting with all of the colored dyes) we all had such a great time getting creative! It was an afternoon happily spent chatting about favorite Disney memories and all that we are looking forward to on our next trip.
Below are the steps we followed that you can use as well to make a pixie-dusted tie-dye of your own!
MATERIALS:
- White T-Shirts
- Tie-Dye Kit
- Chalk
- *Rubber Bands
- *Plastic Gloves
- Plastic Wrap
- Gallon Size Storage Bags
(*Note: The Tie-Dye Kit I bought from our local craft store included rubber bands and plastic gloves along with the dyes for our shirts.)
TIE-DYING PROCESS:
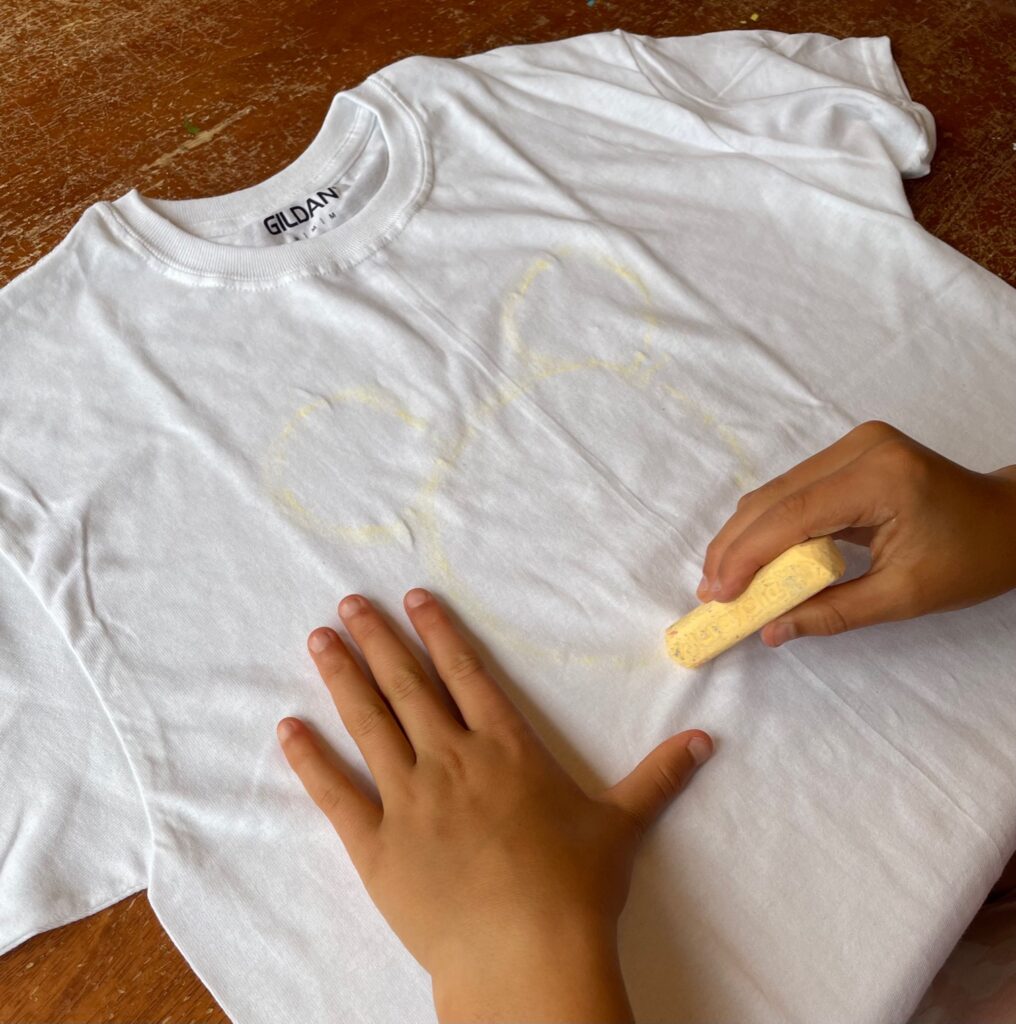
1. With a light-colored piece of chalk (we chose pale yellow), lightly trace a Mickey Mouse head on your shirt.
2. Pull the fabric up from the center of Mickey’s head, and tie a rubber band as close as you can get to your chalk tracing. Repeat this step for both of Mickey’s ears.

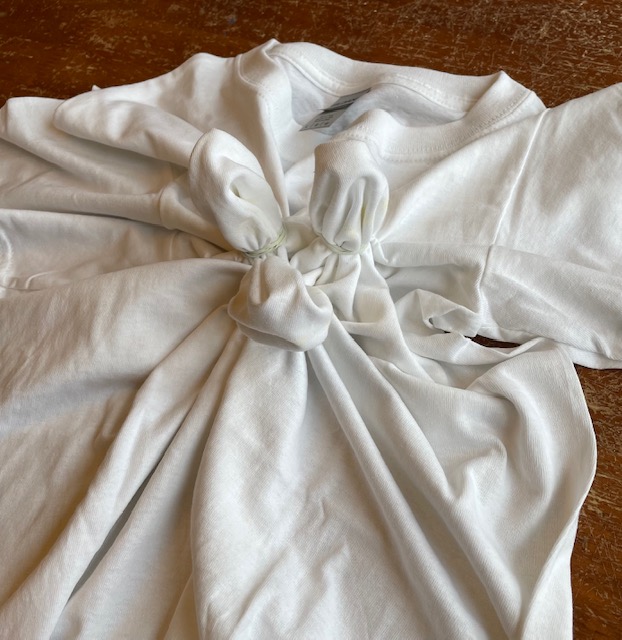
3. About two inches below your Mickey, pull the shirt together from both sides and tie a rubber band tightly around that section. Repeat this step every two inches until you reach the bottom of your shirt. About two inches above your Mickey, pull the shirt together from both sides and tie a rubber band tightly around that section. Repeat this step every two inches until you’ve reached the top of your shirt. When you’re finished tying all of the rubber bands, run your shirt under cold water and squeeze off the excess.

4. Prepare your colored dyes according to the instructions in your Tie-Dye Kit, and get ready to design your shirt! Find a workspace you don’t mind becoming a bit messy (we used an old plastic pool outside in our yard) and using your plastic gloves, carefully dye each section of the shirt.
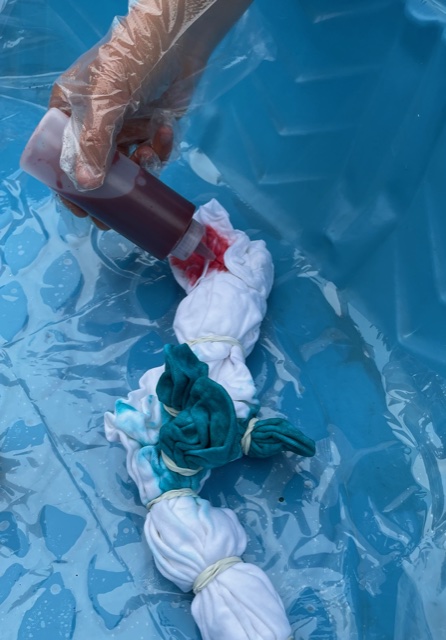
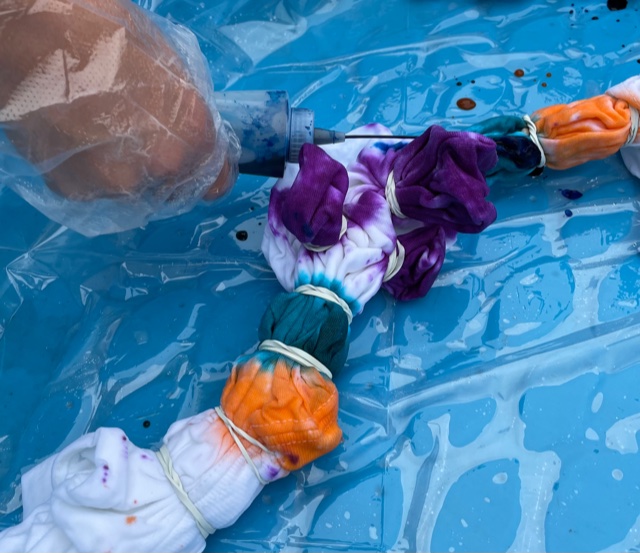
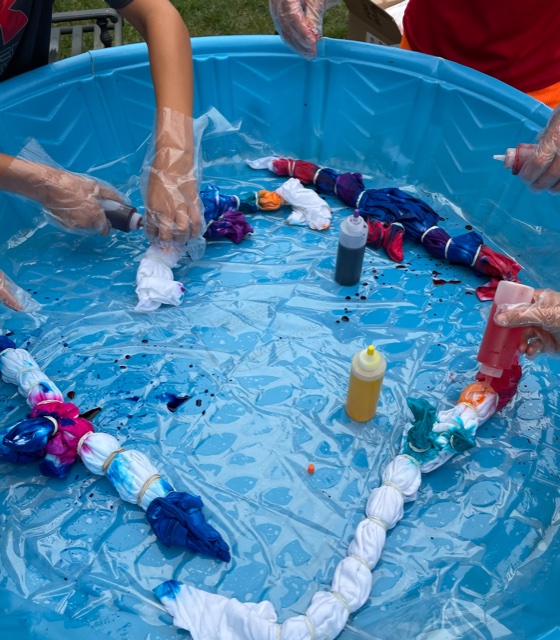
5. Once you’ve completed dying the shirt, wrap it in plastic wrap and seal the wrapped shirt in a gallon storage bag. Keep the shirt in the bag for at least 24 hours.
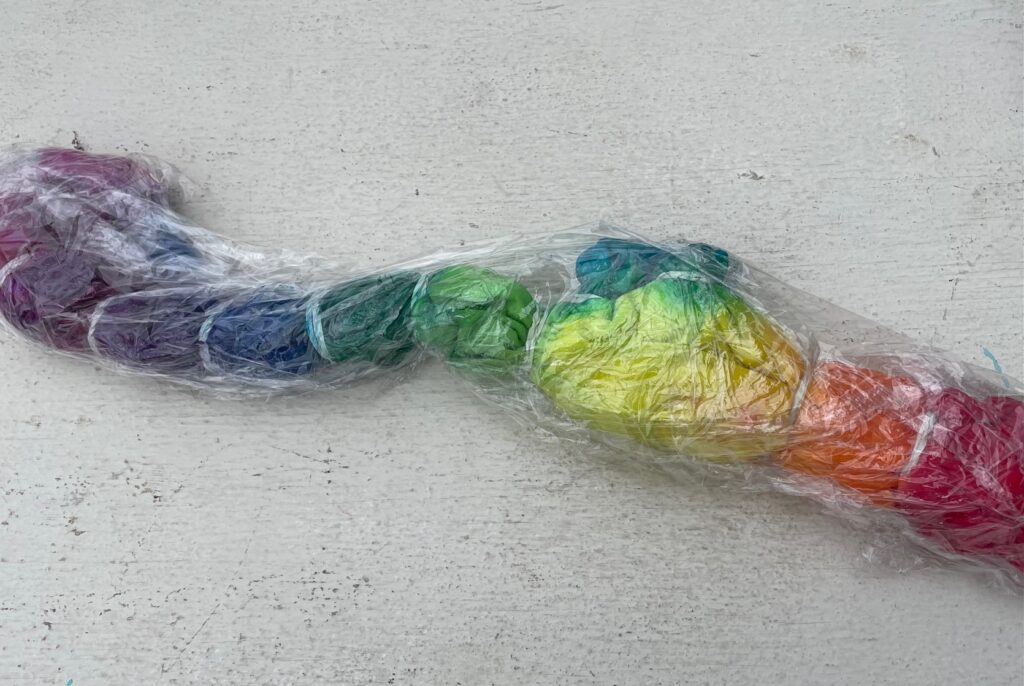
6. After the shirts have been allowed to set for about 24 hours, use your plastic gloves to remove the rubber bands and then rinse each shirt with cold water until the water is mostly clear. Wash the shirts in your laundry machine with the temperature setting on cold, then tumble dry on low heat. (Be sure to wash your tie-dye shirts separately from other laundry the first time, to avoid dying other clothing.)
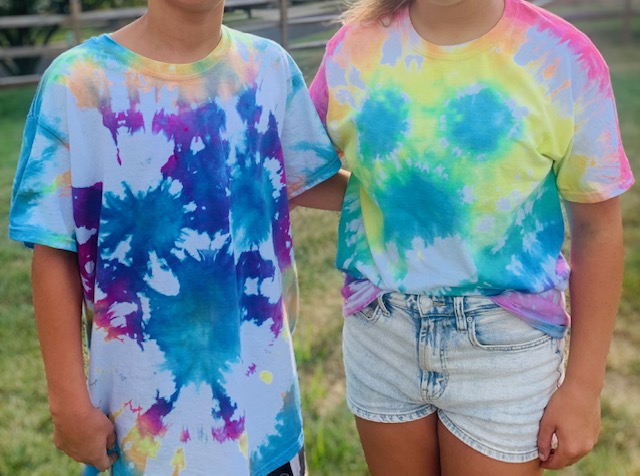
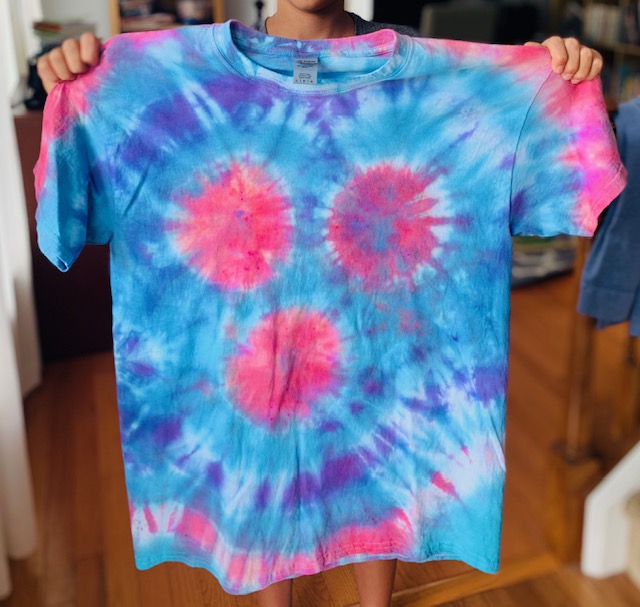
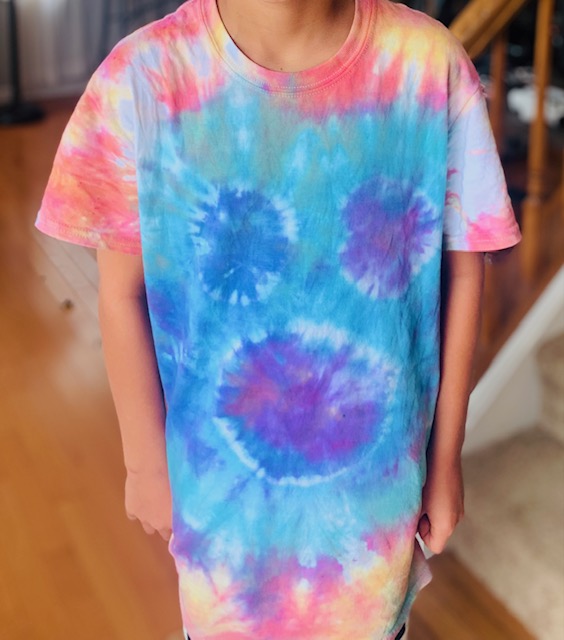
Though our shirts did not turn out exactly as we had envisioned (we all are in agreement that we’d like to try to figure out how to get Mickey’s ears closer to his head), we all had such a fun time with this project. On our list of things to do this week – head back to the arts and crafts store to buy another tie-dye kit and more white shirts!

