My kids love to paint. I like to keep a supply of canvases and paints from our local craft store on hand because of how often they paint. My daughter recently discovered silhouette paintings while browsing Pinterest, and decided to give them a try. I was so impressed with how they turned out! She followed the step-by-step process below, which you can use as well to create a silhouette painting of your own!
MATERIALS:
- Picture of your silhouette
- Cardboard or Cardstock
- Pencil
- Tape
- Stretched Canvas (We had 11″ x 14″ and 12″ x 16″ available, but any size will do.)
- Paint Brushes
- Acrylic Paints
- Black Sharpie
DIRECTIONS:
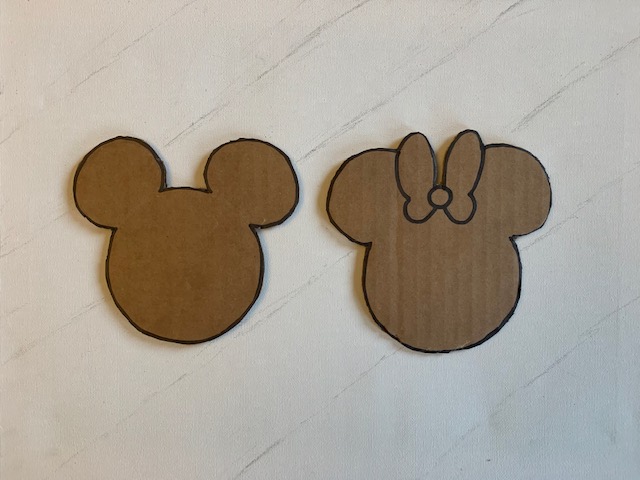
STEP 1:
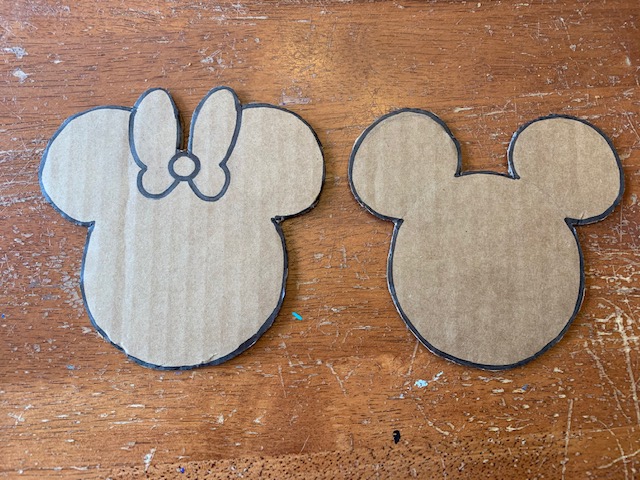
Trace the picture that you’d like to use for your silhouette onto your cardboard or cardstock, and carefully cut out the tracing.
STEP 2:
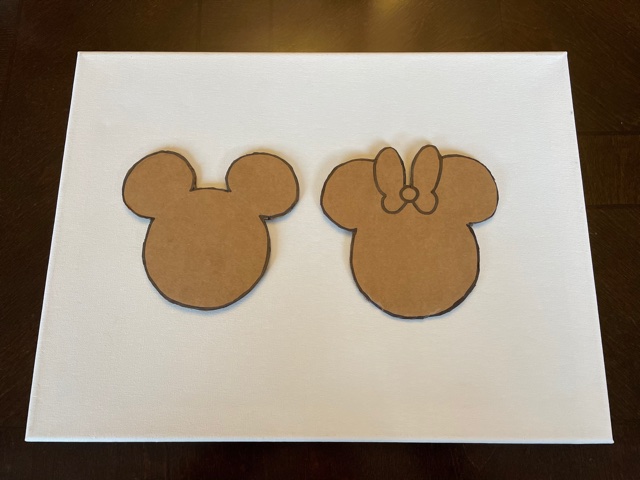
Position your silhouette where you’d like it to appear on your painting, and gently secure it to your canvas with tape.
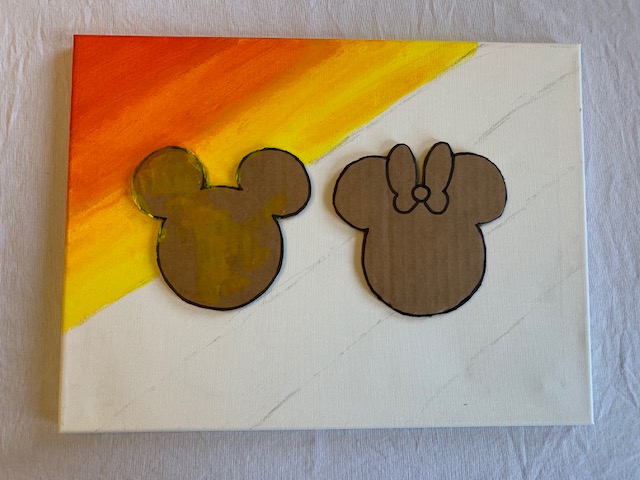
STEP 3:
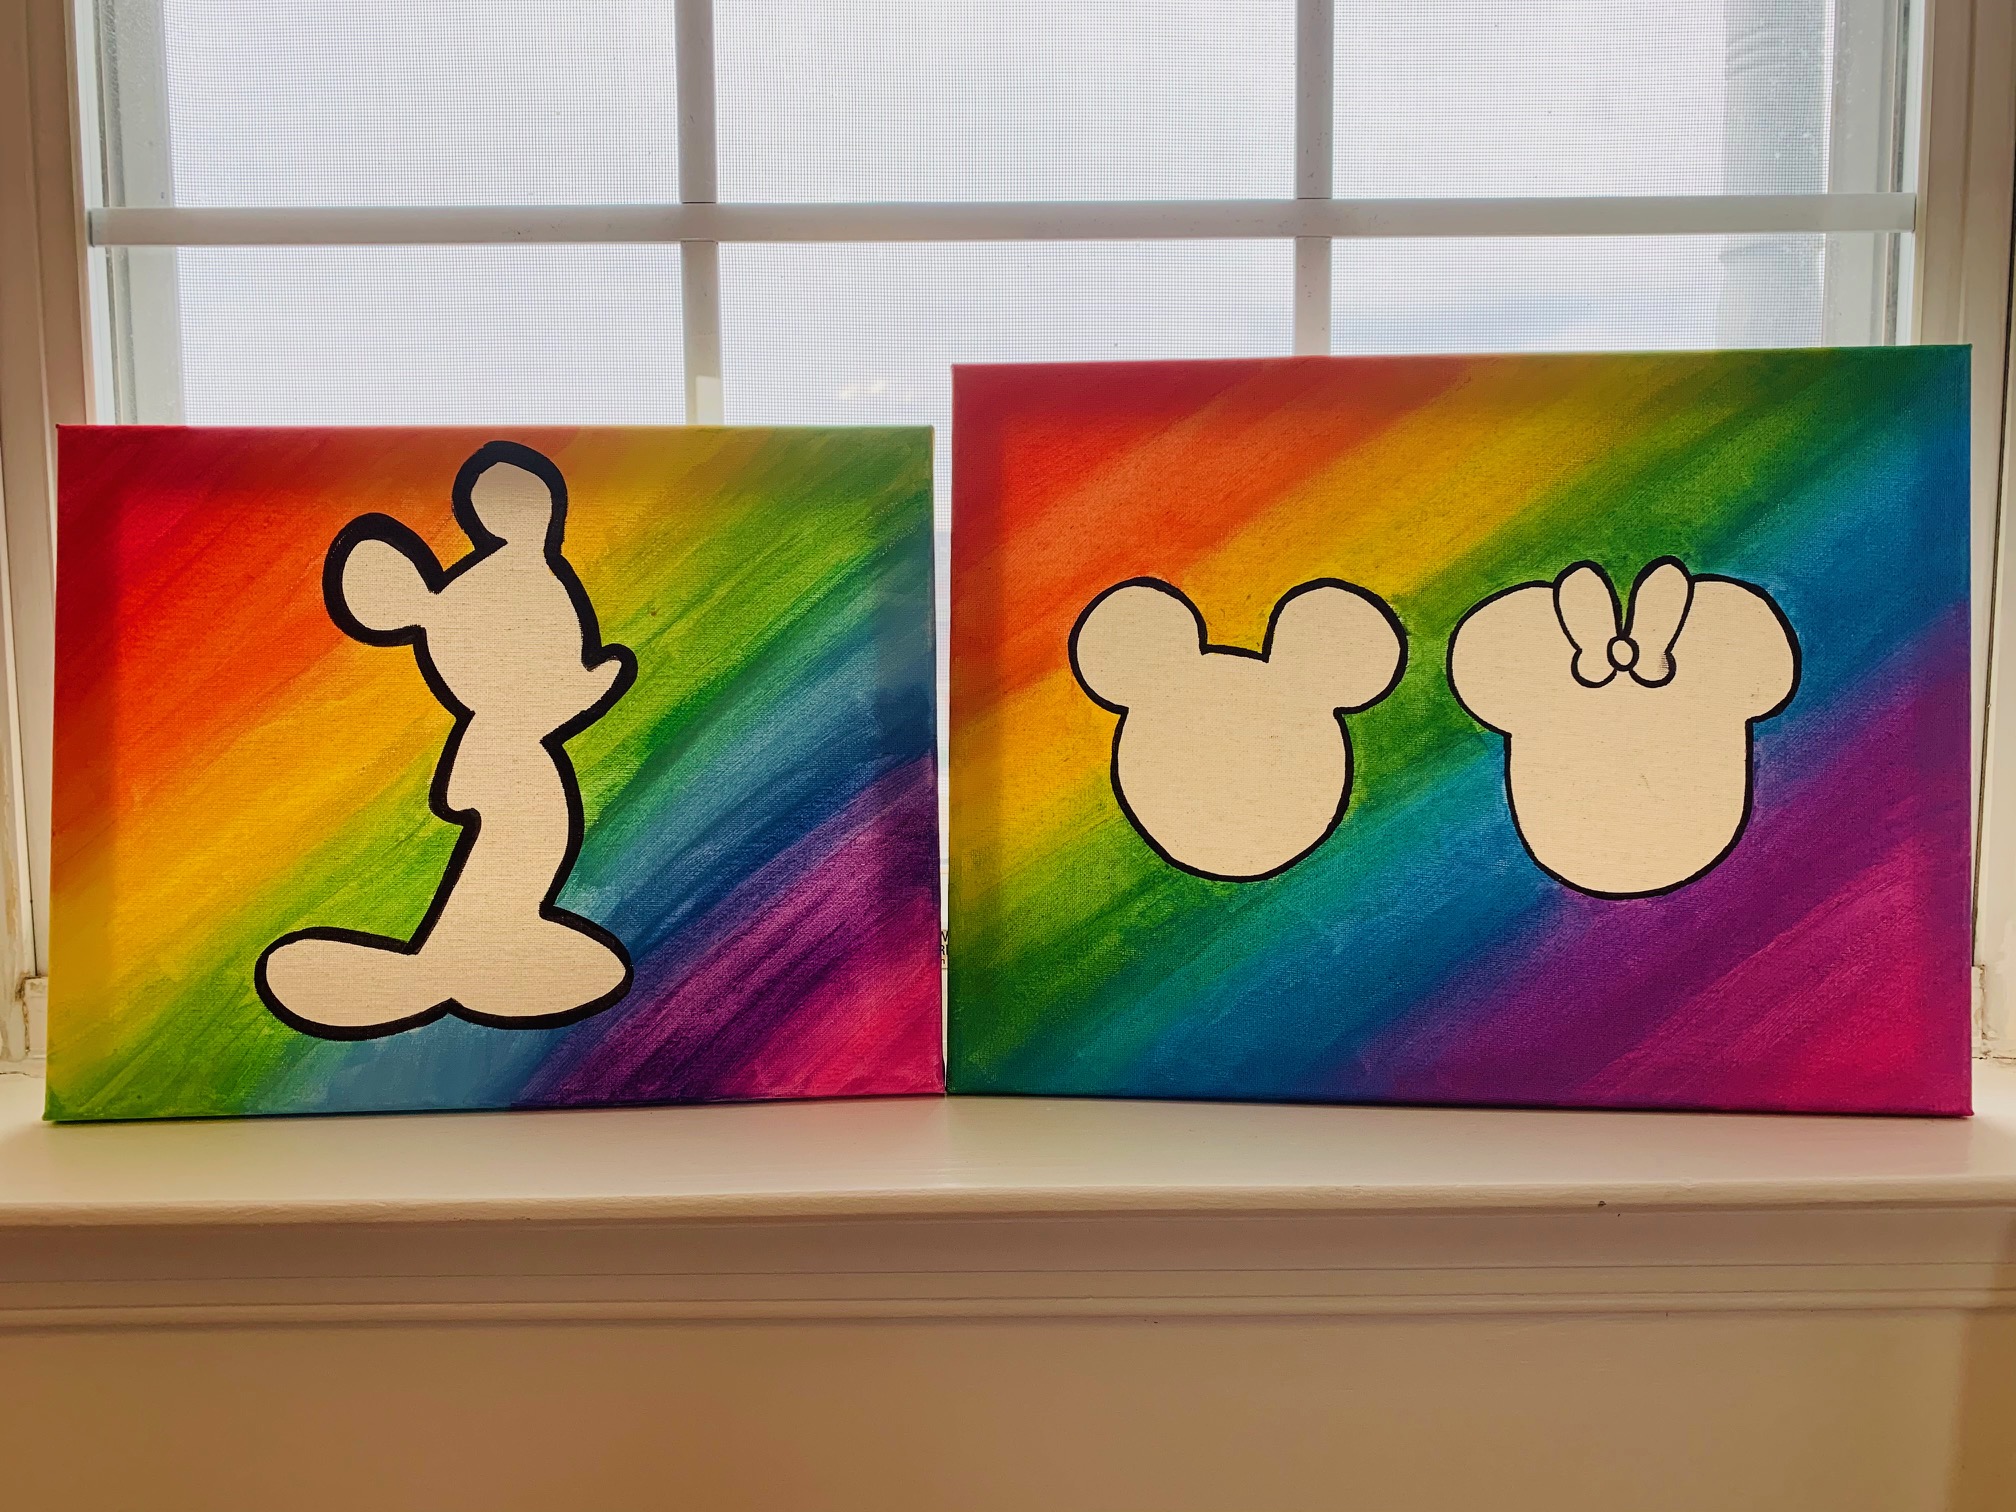
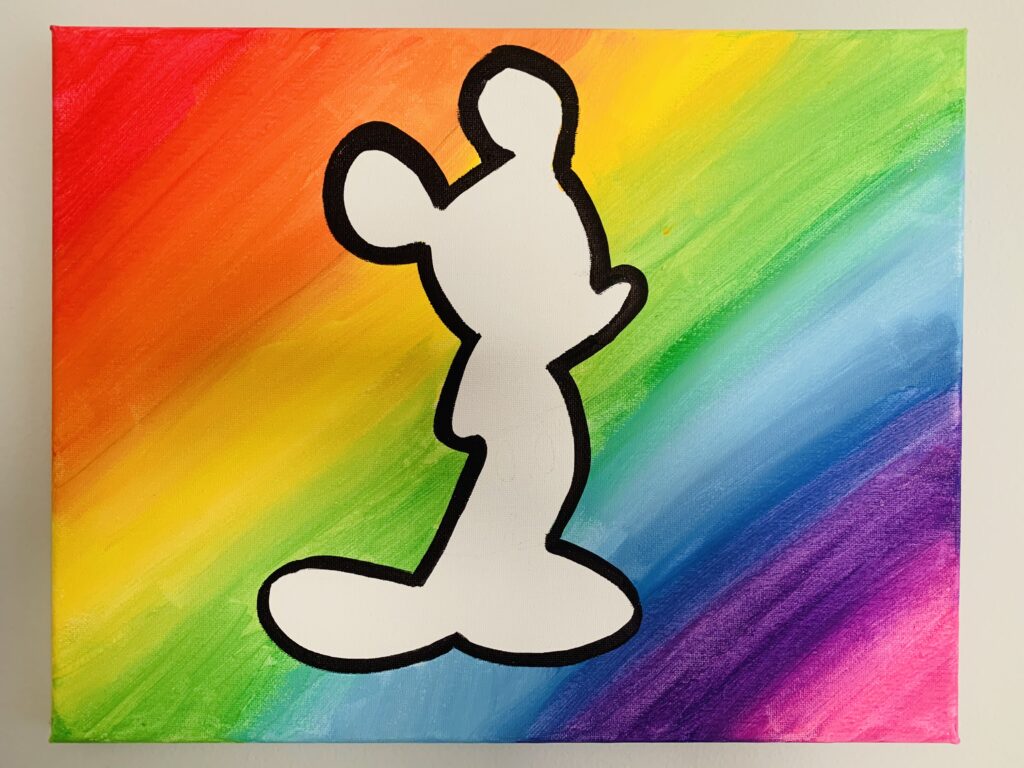
Lightly pencil in any design you’d like around your silhouette. My daughter liked the idea of a rainbow background for her paintings, so she sketched diagonal lines to create spaces for each of the colors she was going to use.
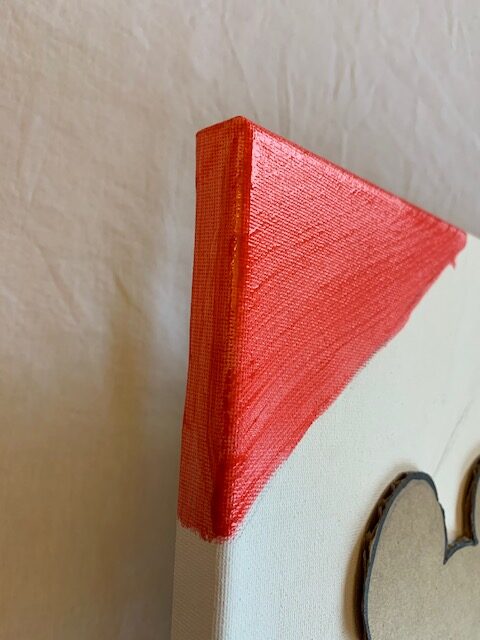
STEP 4:
It’s finally time for the fun part – painting! Paint around your silhouette with your desired colors, then set aside to dry.
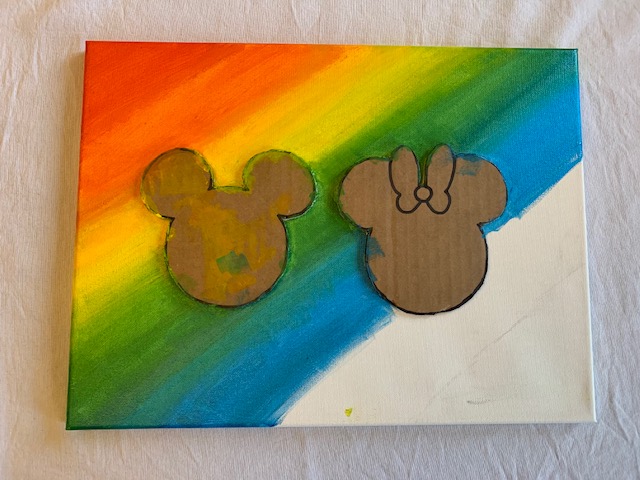
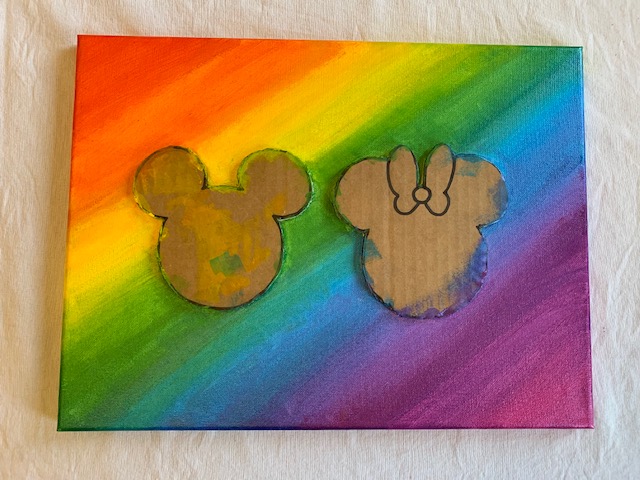
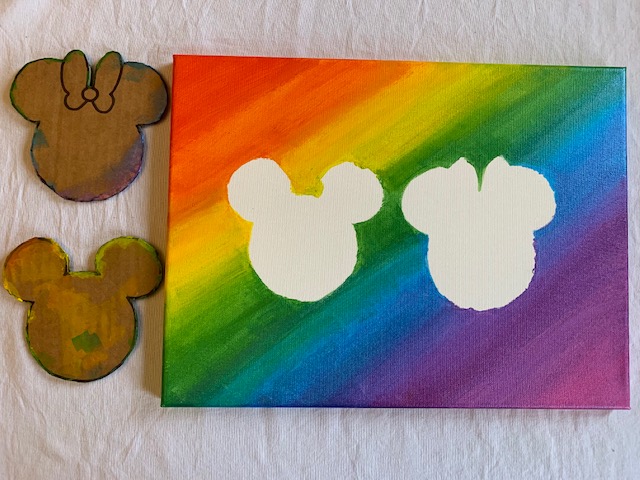
STEP 5:
Once your canvas has dried completely, carefully remove the taped silhouette. Outline the edge of your silhouette with a black Sharpie marker to finish the painting.
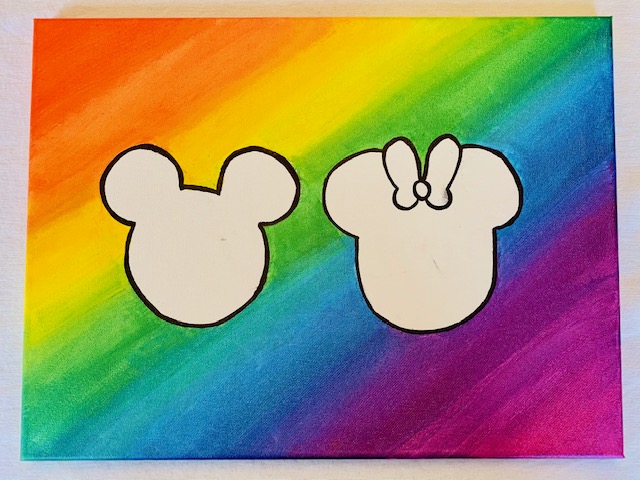
STEP 6:
Hang your masterpiece for everyone to admire!

These are fabulous Ella!! Great job!!
She says THANK YOU!!(: